VirtualBox
This article explains how to prepare the (virtual) hardware for the Kubernetes lab cluster. The primary reason to use VirtualBox is simple, it’s free and it’s available on macOS, Linux and Windows. Besides the openness and the low costs, it’s also a quite professional desktop virtualization solution with many features that, at least for our purpose, is enough to host our lab cluster.
Download
VirtualBox can be downloaded for the required platform at https://www.virtualbox.org/wiki/Downloads.
Installation
The installation of VirtualBox depends on the platform you are using. The installation details can be found on the installation page or in the VirtualBox user manual.
Configuration
VirtualBox comes with a predefined set up that is pretty much sufficient for most of the normal use cases. In our case, we need to add some settings to the configuration to match the cluster needs.
First of all, we need to create a so-called NATed network. The NATed network represents a kind of a virtual switch. The cluster nodes are connected to the virtual switch, they use a private IP range and are able to communicate with each other. Traffic to the outside world is NATed through the official host IP.
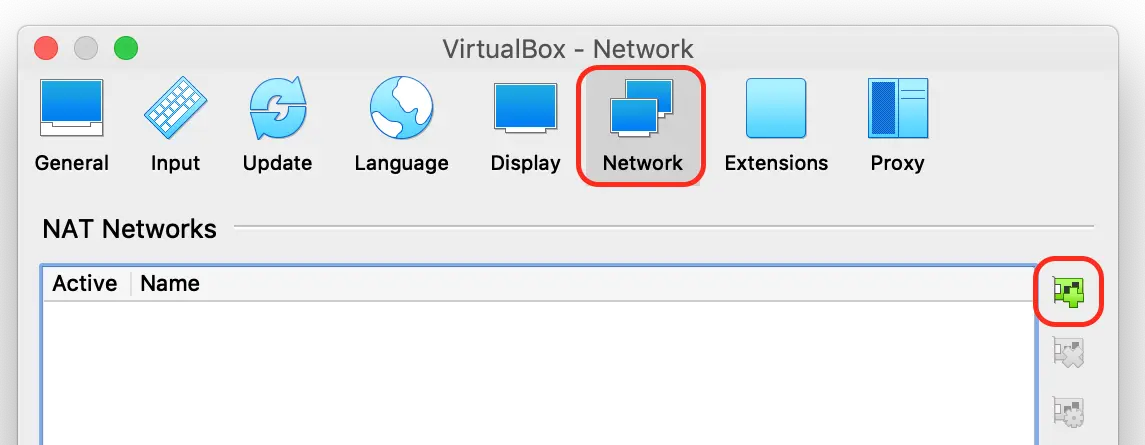
The set up of the NATed network will be done in the preferences of VirtualBox:

Within the configuration pane you need to select the network configuration:
Click on the icon with the green plus and create the NATed network as shown in the following screenshot:
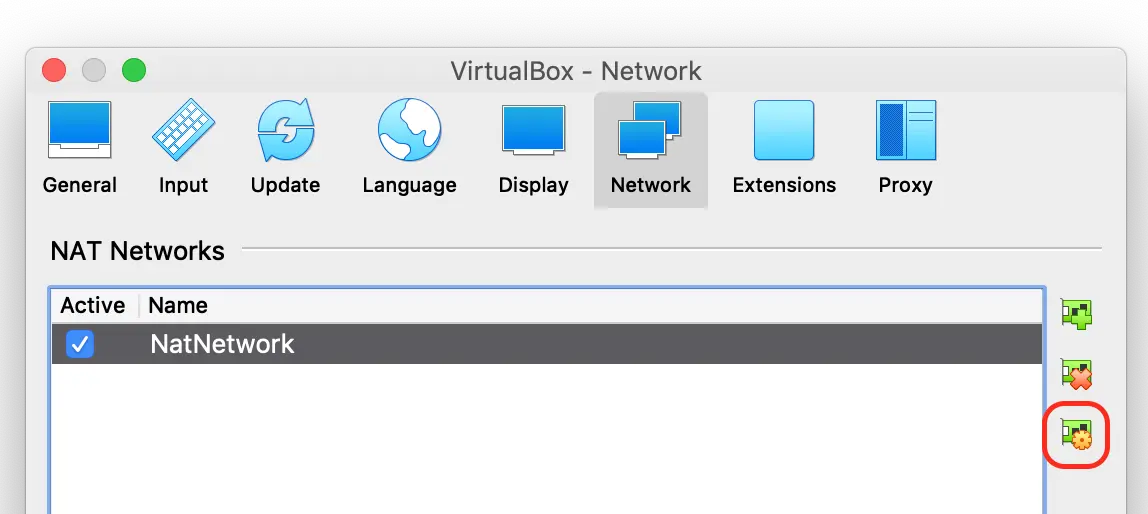
Click on the edit button to set up the NATed network:
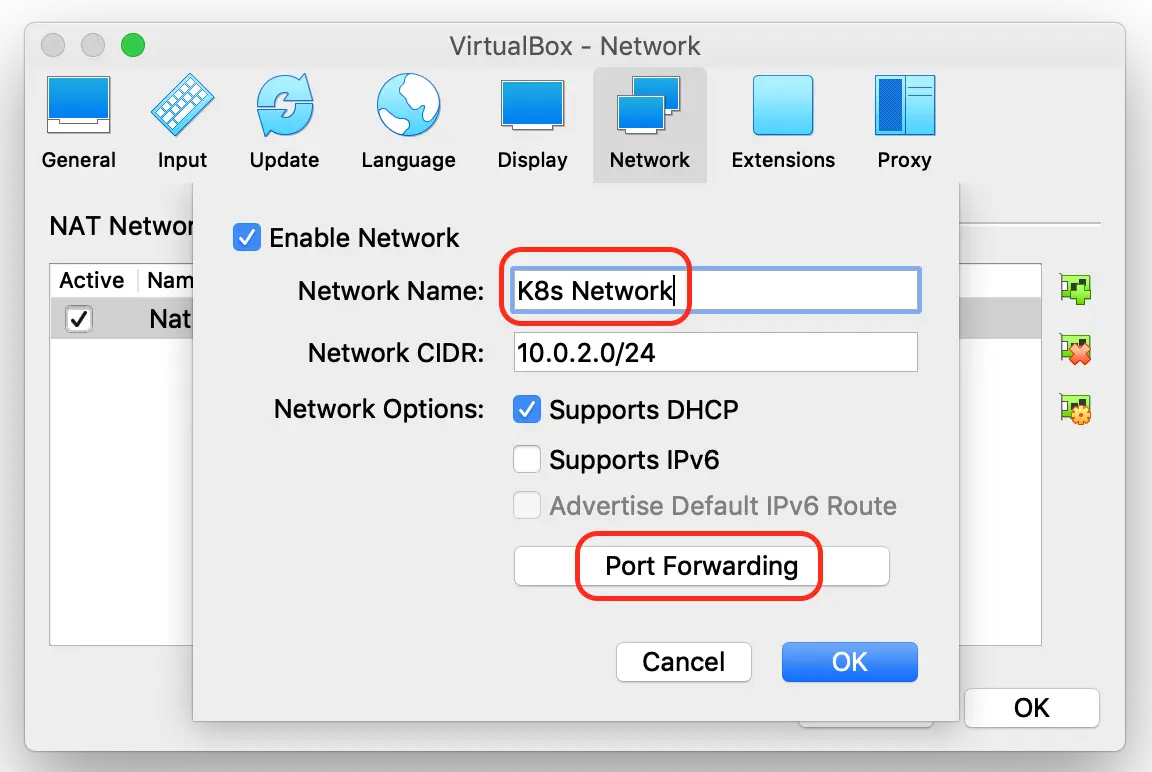
When the values for the network are entered into the form, you need to click on the “port forwarding” button:
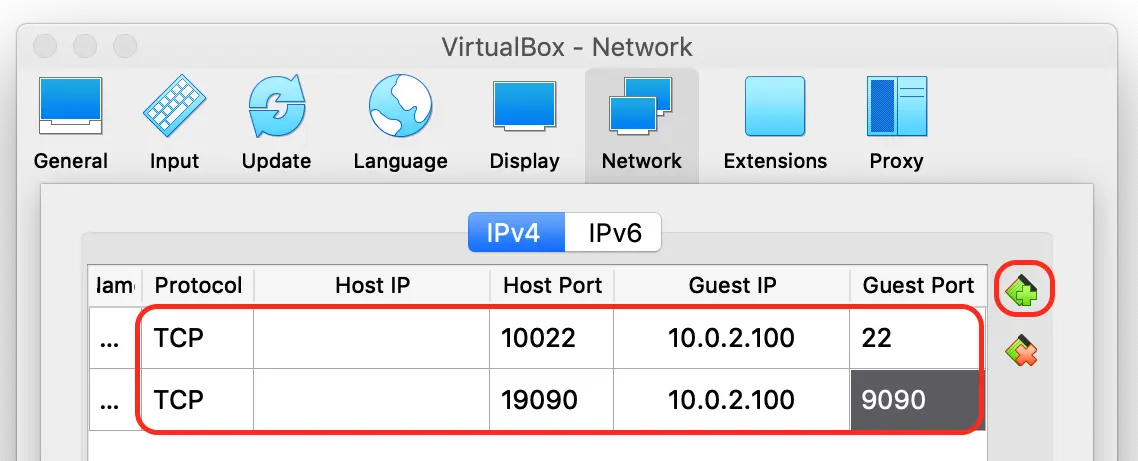
These settings are required to be able to access some of the cluster resources from the host itself. For example, to access the master box from the host via ssh it’s now possible with:
> ssh -p 10022 bofh@localhost
Virtual machines
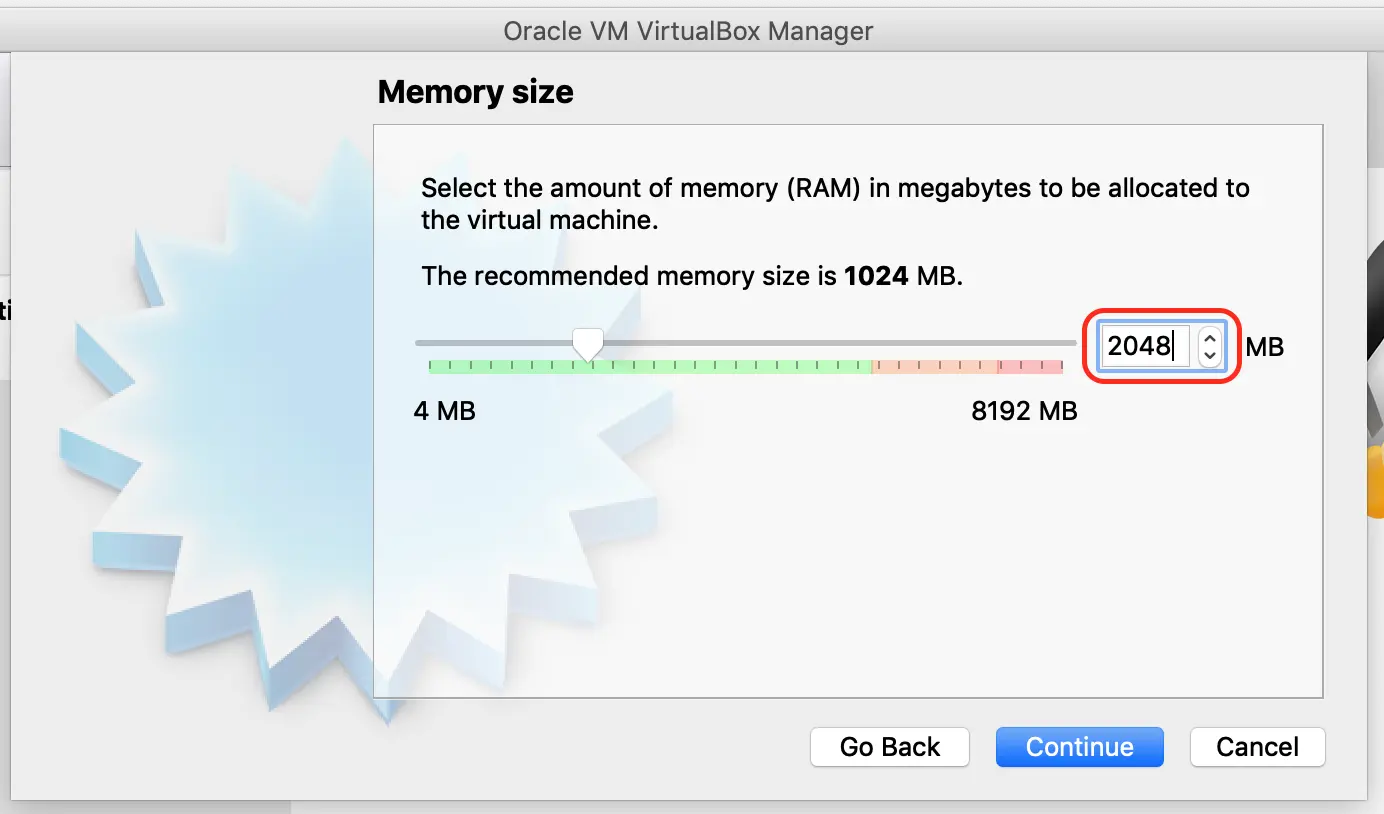
For the Kubernetes cluster that we would like to operate in this lab, we need three virtual machines. One will be the master node and two will be worker nodes. As the resources on my laptop are limited the idea is to slice the virtual machines in a way that they can run in parallel on my 8GB RAM. This means, the master node will be equipped with 2GB RAM, both worker nodes will be equipped with 1GB RAM.
Master node
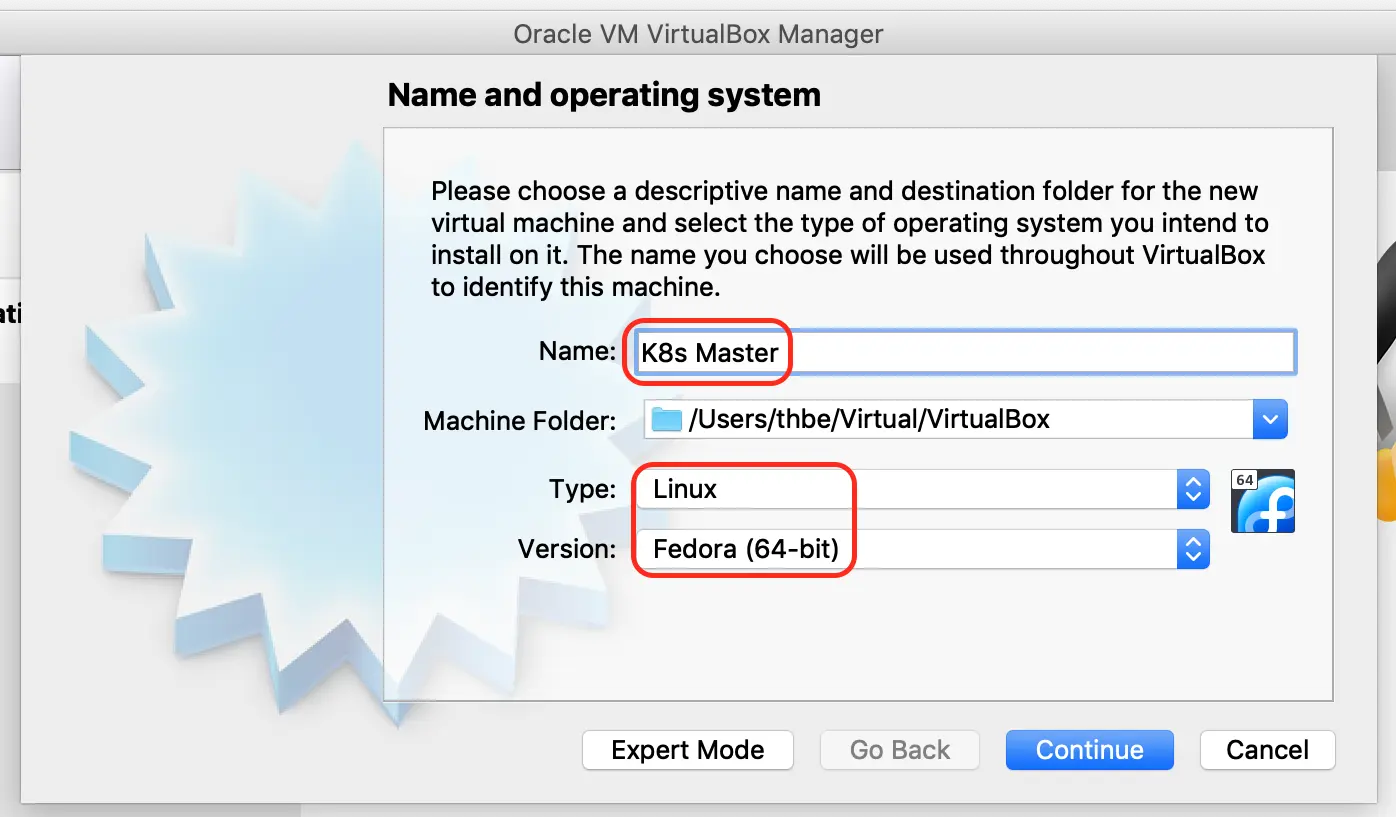
To add a virtual machine to the VirtualBox you need to press the [NEW] button first. Next, you need to name the virtual machine and you need to define the type (in this case, Red Hat/ 64-Bit):
Define 2GB RAM for the master node:
Now press [RETURN]:

And once again:
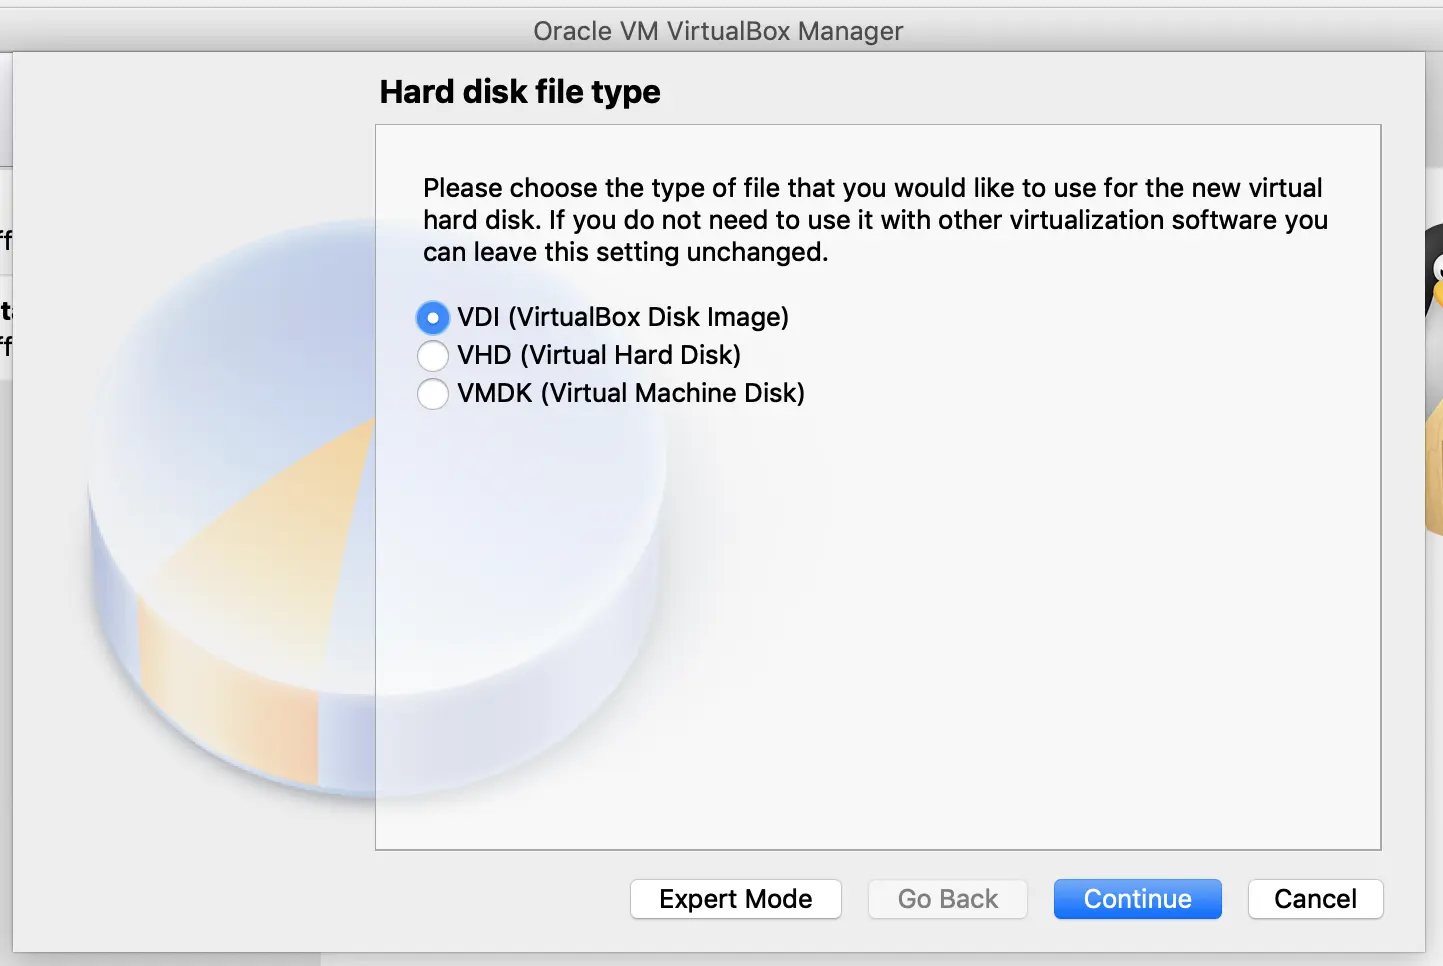
And once again:

And once again:
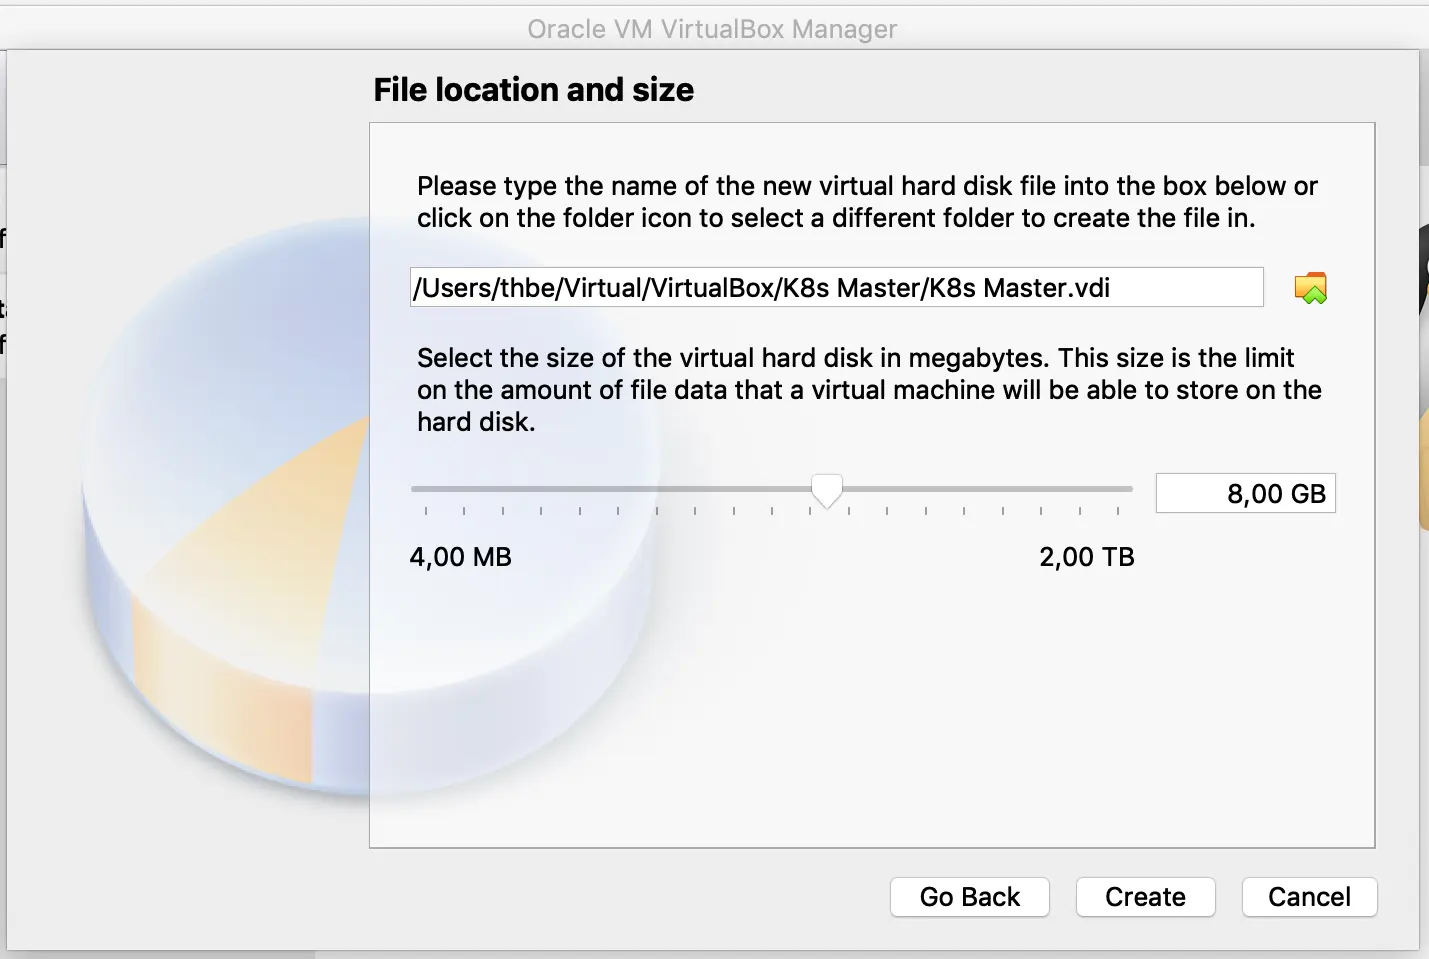
The master node is now created.
Worker node 1
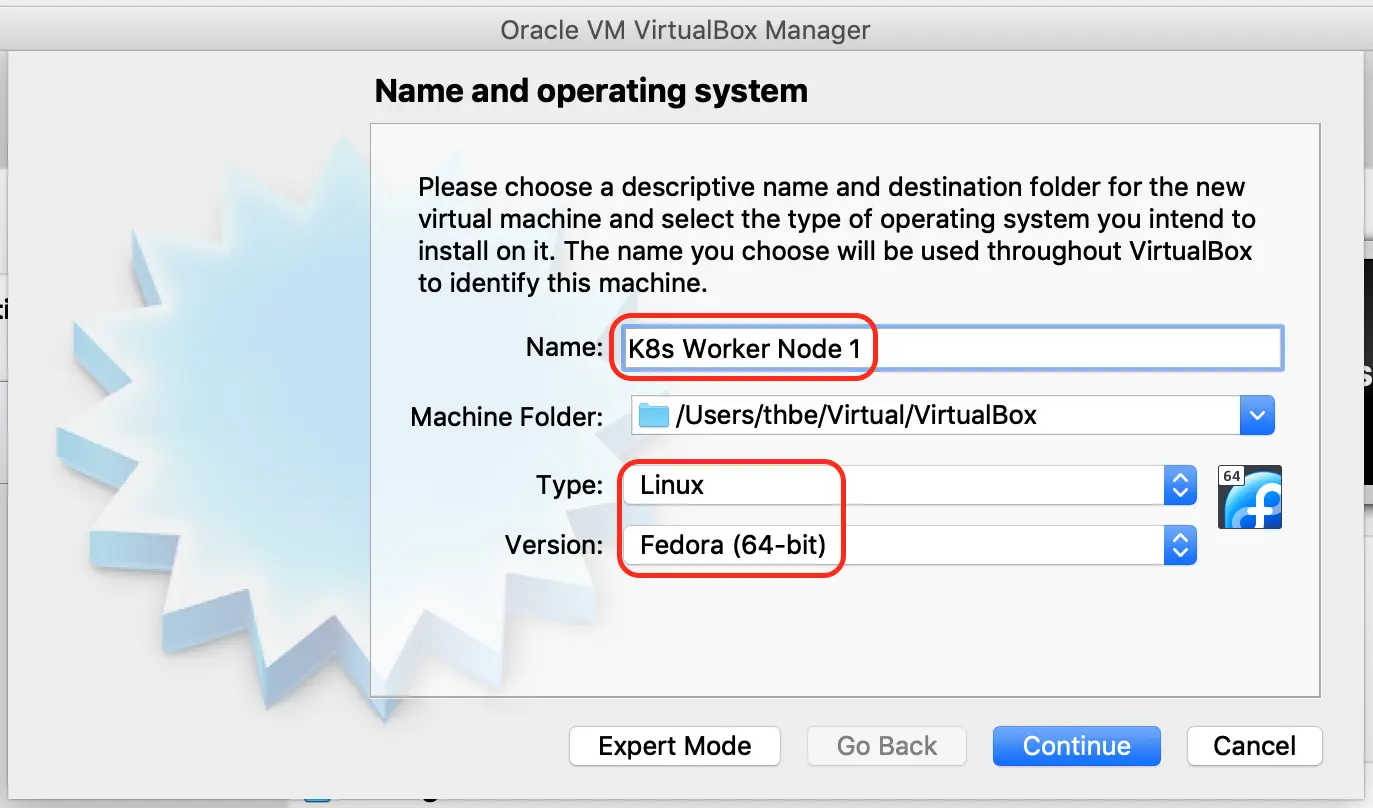
To add a virtual machine to the VirtualBox you need to press the [NEW] button first. Next, you need to name the virtual machine and you need to define the type (in this case, Red Hat/ 64-Bit):
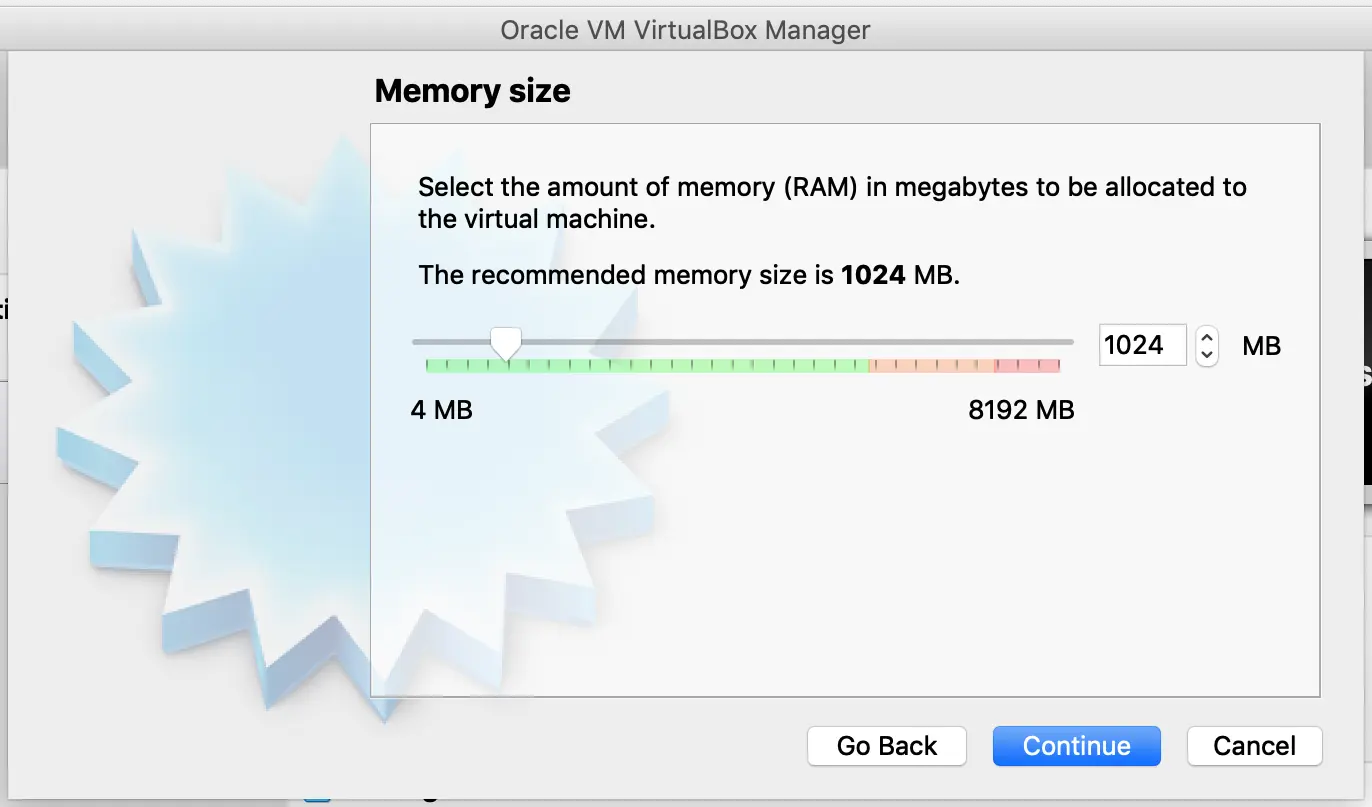
Now press [RETURN]:
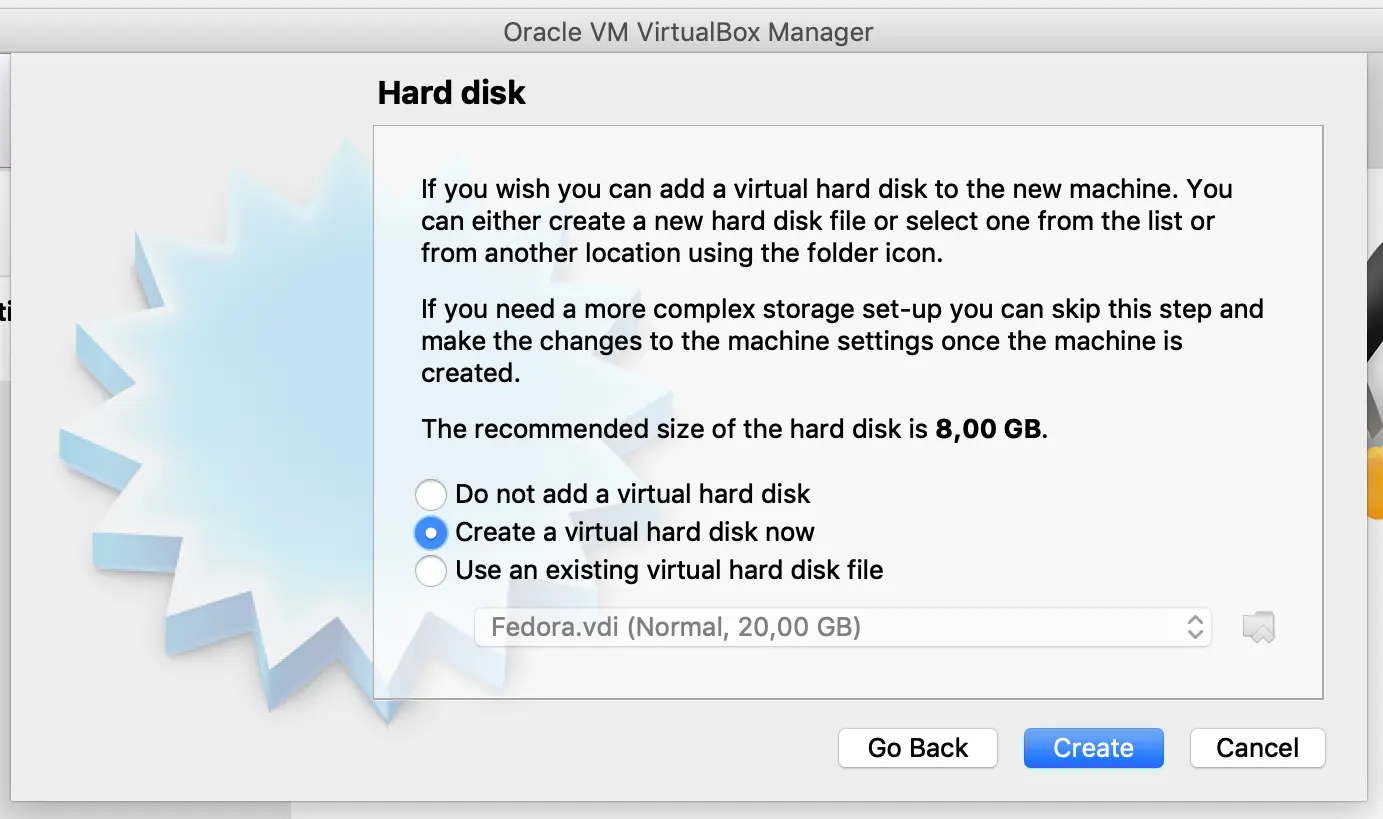
And once again:
And once again:

And once again:

And once again:

The worker node 1 is now created.
Worker node 2
To add a virtual machine to the VirtualBox you need to press the [NEW] button first. Next, you need to name the virtual machine and you need to define the type (in this case, Red Hat/ 64-Bit):
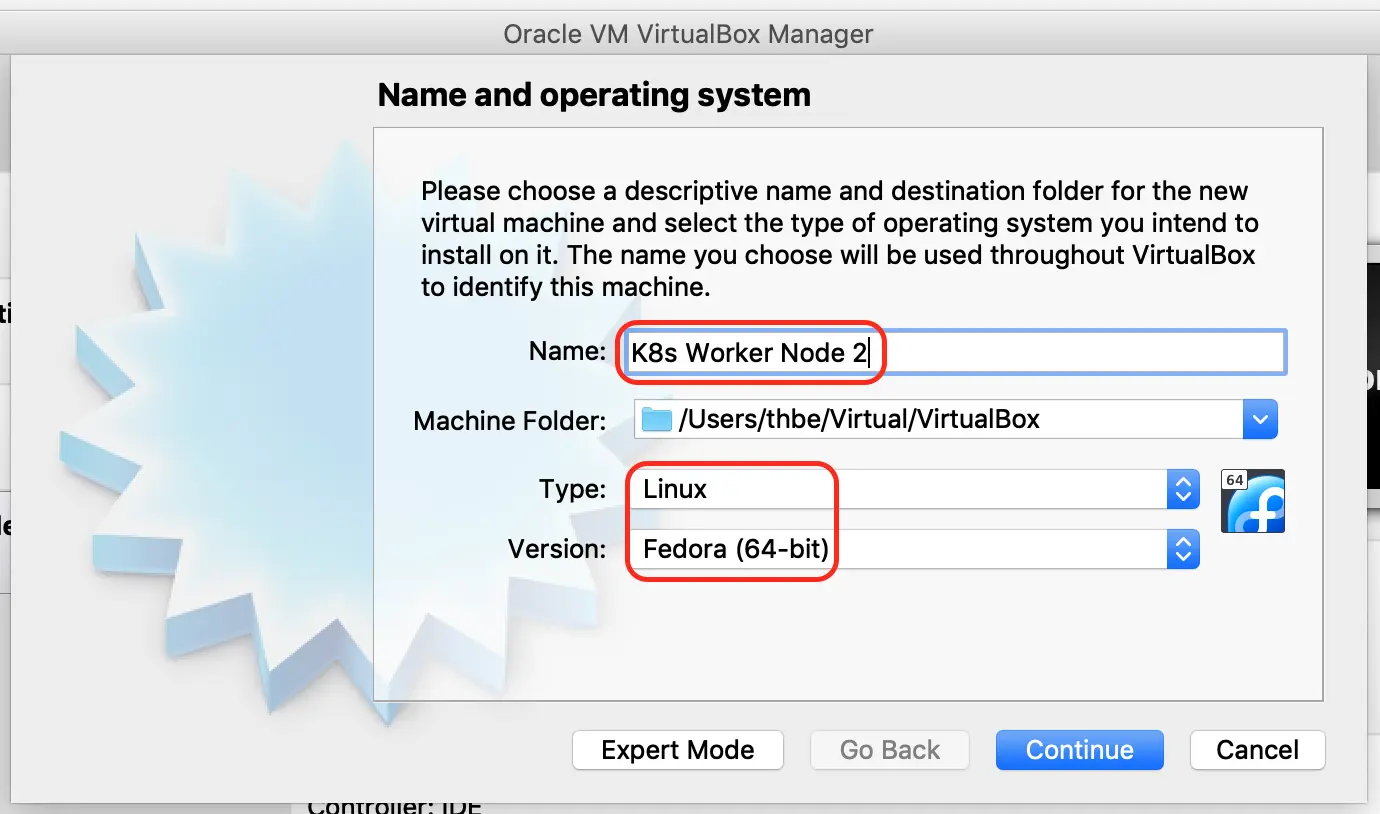
Now press [RETURN]:

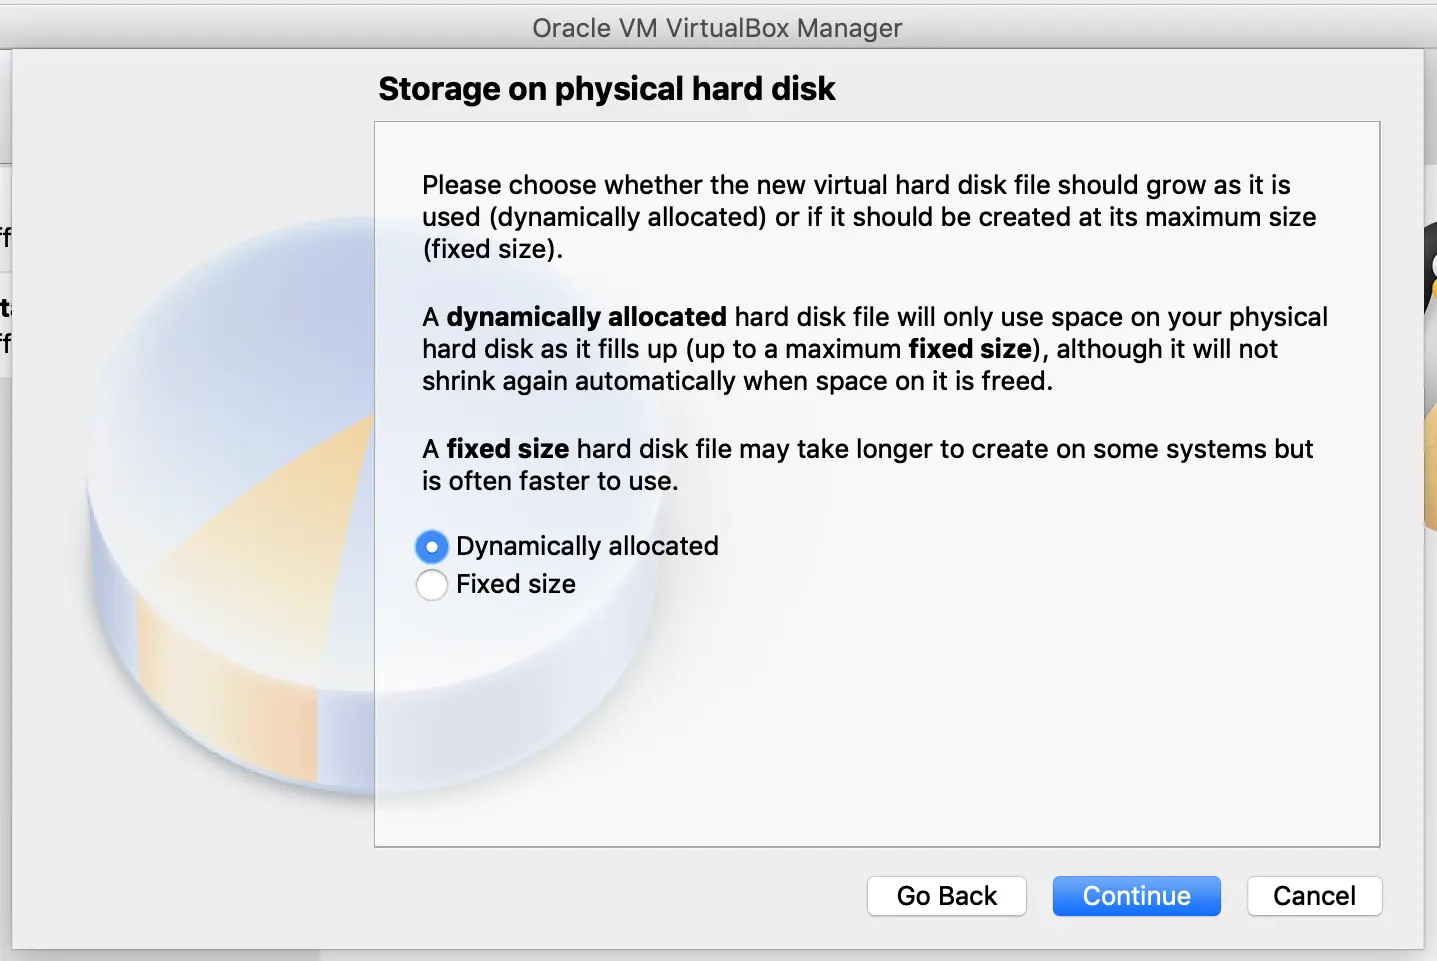
And once again:

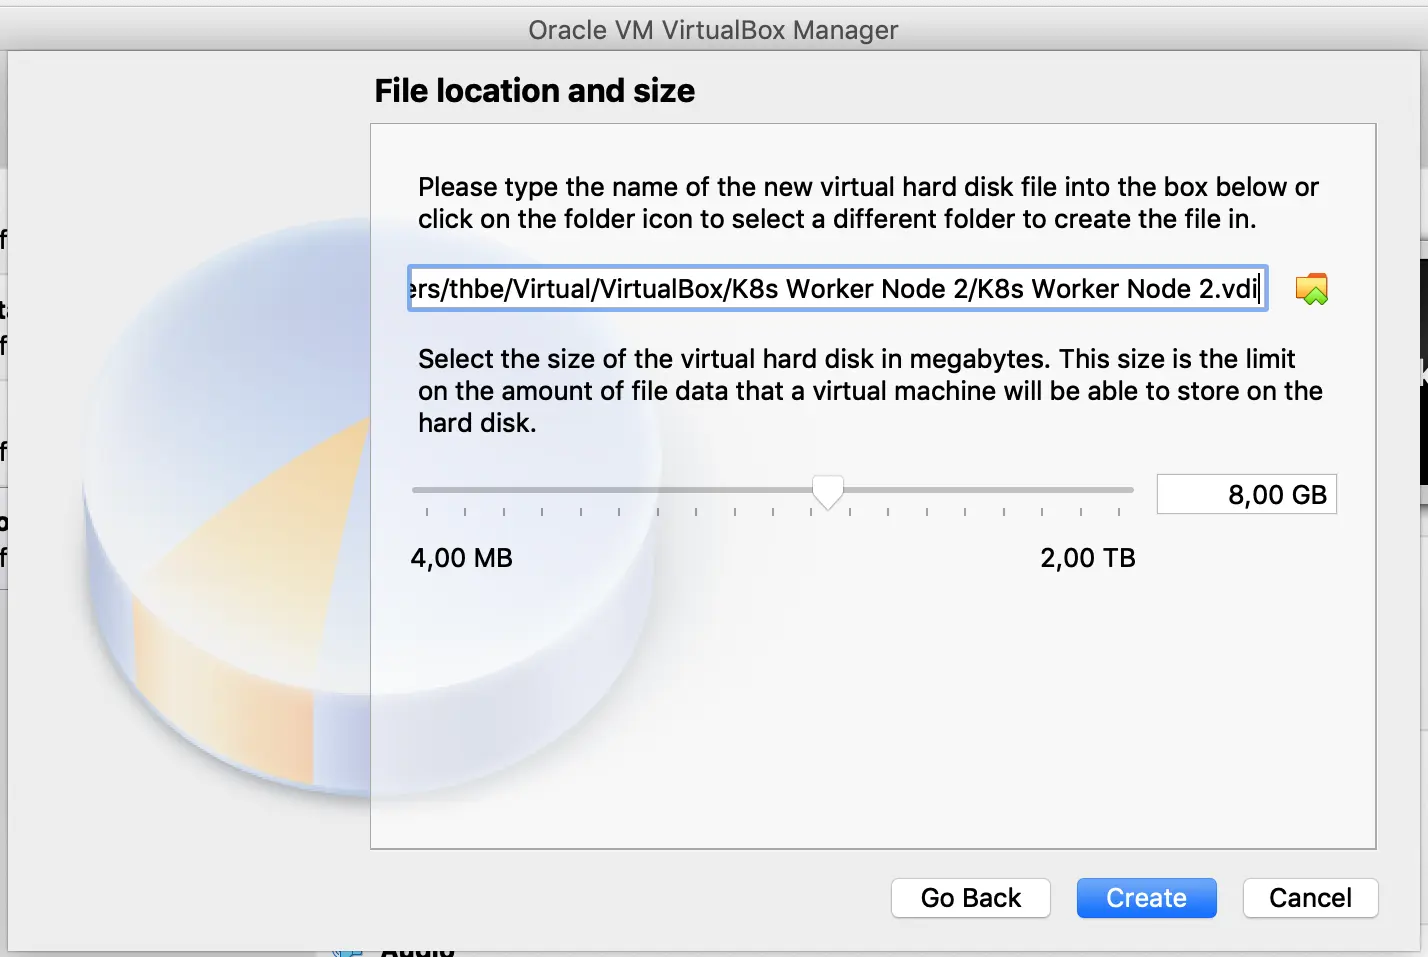
And once again:

And once again:
And once again:
The worker node 2 is now created.
Worker Configuration
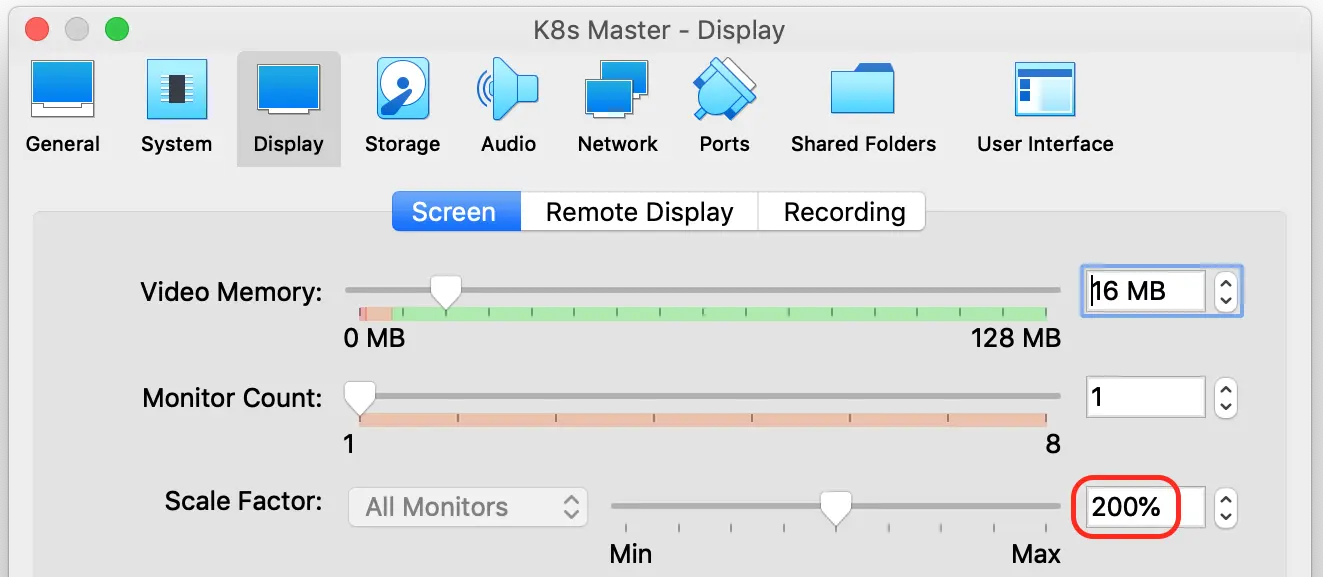
The configuration needs to be done on every node and is equal on every node. This means that all three configuration settings need to be done on all three nodes. First, set up the screen factor:
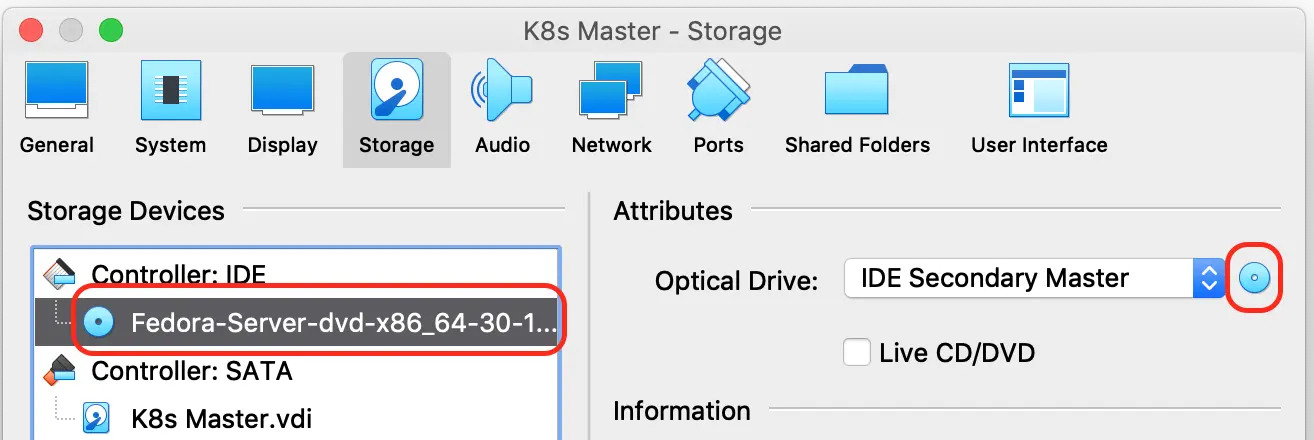
Second, use the Fedora ISO as the source for the virtual optical drive:
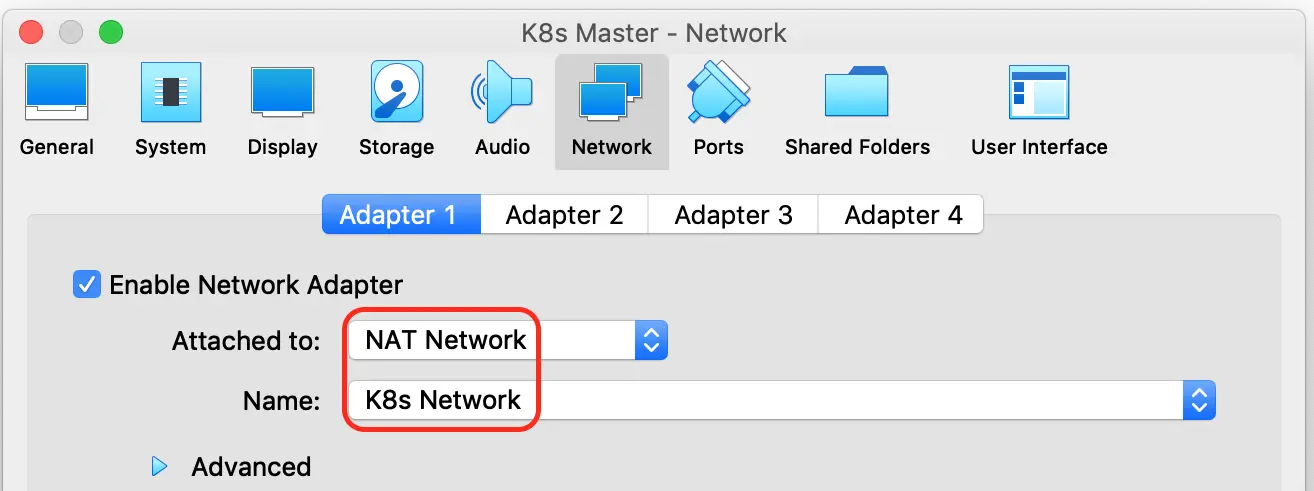
Third, set the network to the NATed network and choose the K8s network we’ve created earlier: